
What Does a Bed Bug Treatment Program Include?
Learn the Best Way to Kill Bed Bugs on Your Own

The sight of a bed bug can send even the most rational people into a panic. But don't fear, bed bug infestations can be eliminated, and you can do the treatments yourself in a way that will fit your schedule and budget.
It will take diligence and consistency on your part, but you can treat a bed bug infestation in your home or office for good. Our 4-step guide to your DIY bed bug treatment will cover the following:
- How to Prepare a Room for a Bed Bug Treatment
- How to Treat a Room for Bed Bugs
- How to Treat a Mattress for Bed Bugs
- How to Kill Live Bed Bugs
- The Importance of Repetition in Bed Bug Treatment
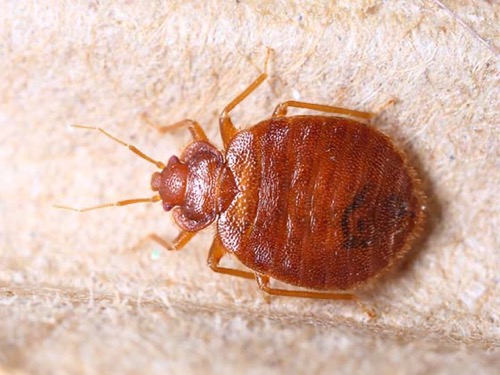
Keep reading to get started. Not sure if you actually have bed bugs? Learn what bed bugs look like and where bed bugs hide in the home before you invest in a treatment.
Preparing a Room for Bed Bug Treatment
Before you begin your own bed bug treatment, you will need to prepare the room or rooms where bed bugs have been found, in addition to rooms that share walls with the infested rooms. Remove any items in the room that you absolutely cannot treat or that have already been treated. Cover items that will be removed from the room in plastic bags before moving to the next room to prevent any unseen bed bug from infesting another room. Bed bugs can easily move between adjacent apartments. You may be able to request help from your landlord if you are seeing bed bugs in an apartment.
Remove any paintings or art from the walls. Be sure to thoroughly check any item that is removed from the room to prevent bed bugs from being transferred from room to room.
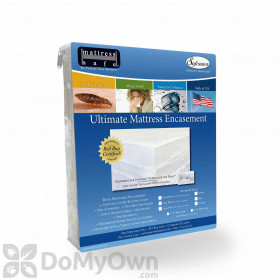
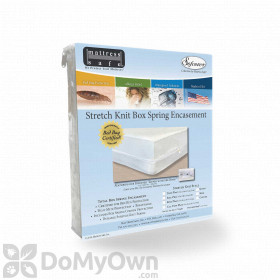
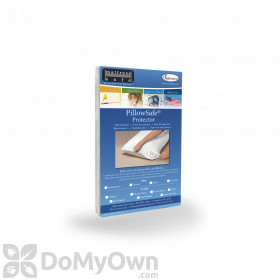
If you have a mattress that is heavily infested, we recommend covering it with a bed bug proof mattress cover or bed bug mattress encasement before moving. You will also need to cover your box spring with a box spring encasement.
If your mattress needs to be disposed of and replaced, be sure to cover the mattress with plastic before disposing to protect sanitation workers. Labeling a mattress or covering with "Bed Bugs" is also helpful.
Infested sheets, linens, and garments should be washed and then dried in a household dryer on high heat (over 120 degrees F), as the heat will kill bed bugs. Any garments that cannot be washed may need to be dry-cleaned or discarded as insecticides cannot be used on these materials.
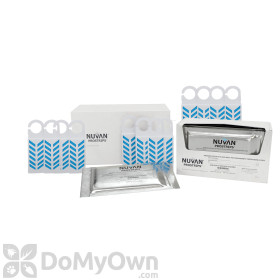
If stuffed animals, books, or soft toys are infested, place those items in an air-tight bin along with vapor strips to kill the bed bugs.
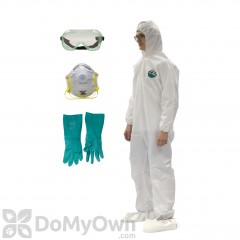
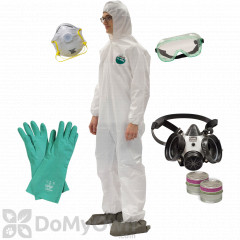
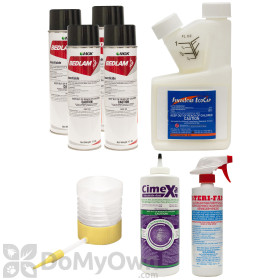
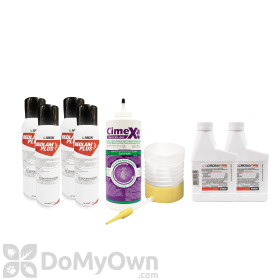
Products needed for Step 1
Treat the Cracks, Crevices, Tufts, and Folds of Your Home for Bed Bugs
Products needed for Step 2

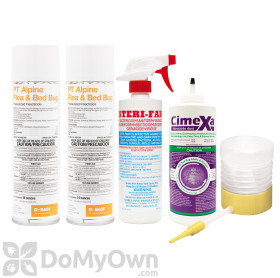
Treat Your Mattress for Bed Bugs
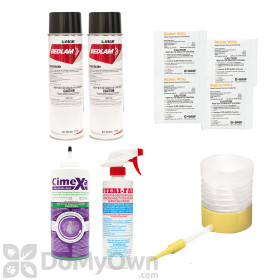
To get rid of bed bugs in a mattress, use an aerosol spray labeled for bed bug treatment, such as Bedlam Aerosol Spray, and spray or mist the insecticide onto the mattress. Focus on the seams, tufts, and folds of the mattress and spray until the mattress is damp. Allow mattress to dry before remaking the bed with freshly laundered sheets that have been run through a dryer on high heat.
After treating a mattress or box spring for bed bugs, we recommend encasing each in a bed bug proof cover. This will prevent re-infestation and will make future inspections and treatments easier. Be sure any product that has been sprayed or applied to your mattress is dry before you cover the mattress with a bed bug proof cover. You can make the bed with your freshly laundered linens over a bed bug proof mattress cover.
After encasing, you will not need to re-treat your mattress or box spring further. If you are not encasing your mattress or box spring, you will need to reapply the aerosol spray every 7-10 days until you do not see any further bed bug activity.
You can follow the initial aerosol spray treatment with an insecticide dust. Dusts are great for hard to reach areas like the corners of mattresses and where mattresses and box springs meet. Dusts also last for several months.
Don't forget to dust your box spring as well. Remove the dust cover from the bottom of the box spring and dust in corners and crevices.
Again, we highly recommend encasing your mattress and box spring to avoid having to re-treat.
Pro Tip
As mentioned above, high heat kills bed bugs. A bed bug or bed bug egg must have direct contact with hot steam to be killed. We recommend using a bed bug steamer to steam your mattress, box spring, and other furniture.
Steaming is a great option in rooms and areas where the use of pesticides must be limited due to health or other concerns. When using the steamer, take your time and slowly move the steamer across the item you are treating for the best possible treatment. We still strongly recommend you follow-up with an insecticide labeled for bed bugs in areas where it is permissible to do so. All steaming should be done prior to covering a mattress or box spring with a protective cover and applying insecticides.
Products needed for Step 2A

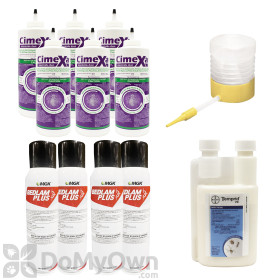
Treat the Room with a Concentrated Insecticide
After your mattress has been taken care of, it's time to treat the rest of the room or rooms where bed bugs have been found and the rooms that share walls with infected rooms.
Mix an insecticide labeled for use on bed bugs, such as Alpine WSG or Temprid FX, with water in a pump sprayer using the ratio found on the product label to create a bed bug spray. Spray onto baseboards, in corners, around door and window frames, around bed frames, and under furniture. Do not broadcast spray an entire carpet or floor. Allow the spray to dry before moving on to the next step.
Some areas to pay special attention to:
- Bed and Furniture Legs - Treat the wheels, casters, posts, and legs of all furniture as bedbugs may be harboring there.
- Wall-to-Wall Carpets - Treat and spray along the edges of carpets and where carpets meet baseboards.
- Door and Window Frames - Spray around all door frames, window frames, and thresholds.
Repeat as needed. Be sure to read the product label for how often you can safely re-apply.
Bed bug traps can be placed under the legs of furniture and bed frames to trap bed bugs before they can climb onto furniture. This is also a good way to monitor an infestation.
Products needed for Step 2B


Use a Bed Bug Aerosol Spray
Once Step 2B is complete and the insecticide mixture is dry, you can follow up with a bed bug aerosol spray. Bed bug aerosol sprays are insecticides that have fine particles that get deep into cracks and crevices. By using both a liquid concentrate insecticide mixture and an aerosol spray, you can treat bed bugs that may have built up a resistance to one product but not the other.
Bed bug aerosol sprays come with a straw applicator to make it easier to apply into the cracks and crevices of furniture and mattresses around the affected rooms. Don't forget to apply in drawers, picture frames, bed frames, and any other cracks you can find. Again, you will want to allow this part of the treatment to dry before moving on.
Some areas to pay special attention to:
- Upholstered Furniture - Inspect and treat any furniture in affected rooms. Much like a mattress, any tufts, seams, or folds will require special attention. Pay careful attention to the furniture legs and dust liners. Spot test an inconspicuous area first before applying to the rest of the furniture piece.
- Baseboards - Treat where the baseboard meets the wall, where the baseboard meets the carpet or floor, and any cracks in the baseboard. This will prevent bed bugs from crawling along or under the baseboard to access other rooms of the home.
- The Entire Bed, Not Just the Mattress - Don't forget the box spring, bed frame, and headboard (especially if the headboard is fabric). Treat along the corners, seams, stapled dust cover, and internal area of a box spring. Voids and screw holes in bed frames are a common hiding place for bed bugs, so be sure to inspect each one.
- Pictures and Wall Hangings - Remove from the wall and treat the back and corners of each. If needed, treat the cracks and crevices of any affected wall hangings. Wait until the spray is dry to rehang.
Products needed for Step 2C
Use a Bed Bug Dust to Create a Long-Lasting Barrier
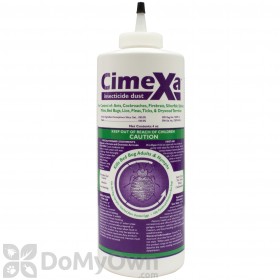
After spraying with an insecticide and following up with a bed bug aerosol, the next step in eliminating bed bugs is to apply a bed bug dust insecticide. As the name implies, bed bug dust is insecticide in a powder form. Because the dust is a slow kill, we recommend using other products in addition to the dust (see steps 2B and 2C).
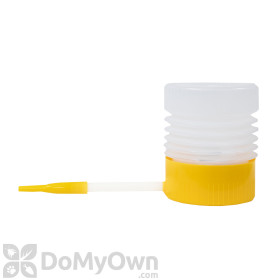
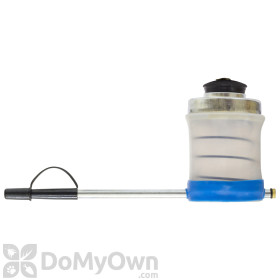
Bedbug dust can be applied with a hand duster into cracks, crevices, behind wall outlet covers or faceplates, and other hard to reach spaces. While the application of dusts in hard to reach spaces may be tricky, dusts are ideal because they last for months or even years, depending on the product.
Some areas to pay special attention to:
- Electrical Covers or Faceplates - Remove faceplates from outlets and dust the inside of wall voids.
- Baseboards - Dust where carpet meets the baseboard, where the wall meets the baseboard, and in corners and cracks in the baseboard.
- Between the Mattress and Box Spring - Dust where a mattress meets a box spring, paying special attention to the head and foot of the bed.
- Headboard and Footboard - Remove the bed headboard from the wall and dismantle enough to access crevices, screw holes, and voids. Do the same with the footboard if applicable.
- Drawers and Furniture - Remove drawers from dressers, nightstands, and end tables and treat cracks, crevices, inside corners, and edges. Don't forget to turn drawers over and treat the underside, and the underside of other pieces of furniture as well.
- Wall Fixtures and Lamps - Dust beneath lamps and behind wall fixtures.
Products needed for Step 2D
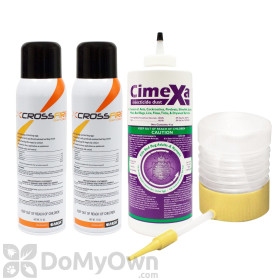
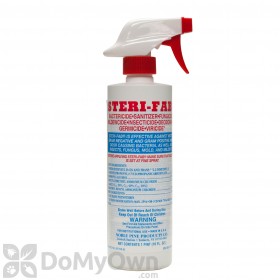
Kill Live, Active Bed Bugs
Products needed for Step 3
REPEAT! REPEAT! REPEAT!
Once you have completed the bed bug treatment process, it is important to prevent a future infestation. Click the right arrow below to learn how to prevent bed bugs from entering your home.
Bed Bug Tips
Bed bug Treatment Infographic
(Click to View Full Graphic)

