
Several species of wasps can be beneficial to gardens as pollinators, but others can cause harm to homes and people. Wasp stings are painful for most and can cause anaphylactic shock in those that are allergic. That is why it is imperative to control wasp nests around and inside homes, apartments, and commercial buildings.
While hornets and wasps, including yellow jackets, are different species of pests, they are frequently associated together and the steps to get rid of yellow jackets, wasps, and hornets are very similar.
This guide will cover the steps required to get rid of yellow jackets, wasps, and hornets.
Not sure if you have a wasp or hornet infestation? Read our guide on what wasps and hornets look like to learn more.
Protect Yourself with Proper Clothing & Safety Gear
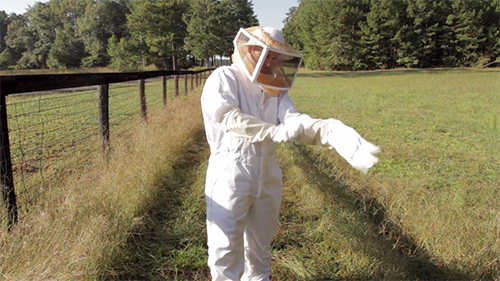
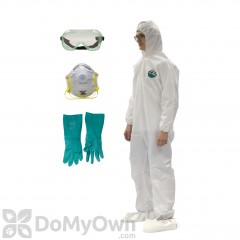
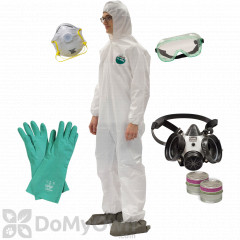
Before you treat for wasps and hornets, be sure to wear the following to protect against stings:
- Long-sleeves
- Long pants
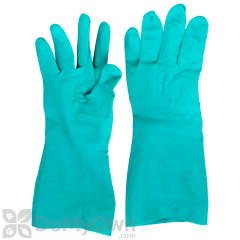
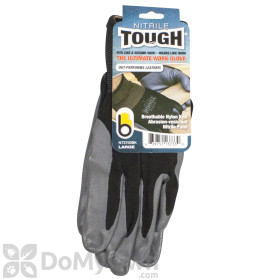
- Thick work gloves
- Closed-toe shoes
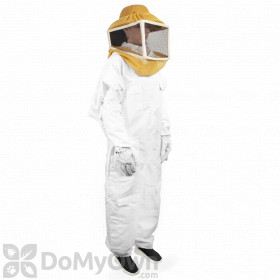
You can even wear a complete bee suit if you are worried about stings.
If you need to use a ladder to reach a nest, make sure a friend is available to anchor the ladder to prevent falls.
Products needed for Step 1

Treat and Remove the Nest
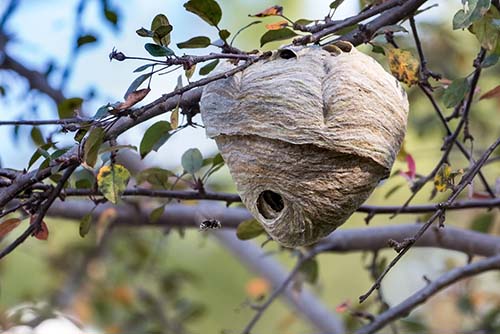
If you know where a wasp or hornet nest is, you can treat the nest directly before removing the nest. There are two ways to treat the nest - drenching and dusting.
Hornet nest removal is the same as wasp removal as both pests are very similar.
For both methods, we recommend treating in the evening when wasps and hornets are less active.
Drench the Nest
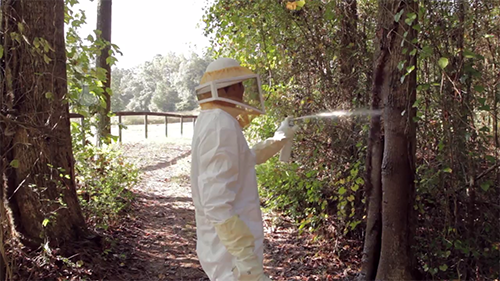
If the nest is active, use a concentrated liquid insecticide and a pyrethroid aerosol to control the wasps before removing the nest.
DoMyOwn has a Wasp and Hornet Control Kit that contains the insecticide and aerosol products needed for this step at a discounted price. Click here to purchase the kit.
To drench the nest:
1. Mix a concentrated liquid insecticide, such as Demand Duo, with water in a hand pump sprayer according to the product label.
2. Next, spray the 2-3 square foot area surrounding the nest with your spray mixture.
3. Then, adjust the nozzle of your sprayer to a pin stream and spray your insecticide mixture directly into the interior of the nest. Be armed with a can of pyrethroid aerosol, such as PT Wasp Freeze II Aerosol, to spray any wasps that emerge from the nest.
The combination of spraying around and inside the nest will kill adult wasps and leave behind a residual to kill any hatching wasps. After the product has dried you should be able to safely remove the nest.
If you are unable to remove the nest, retreat the nest with the insecticide every 14 days until all immature wasps have been killed.
Products needed for Step 2A
Dust the Nest

If the nest does not appear to be active or impose an immediate threat, you can dust the nest. Dusting is less of a risk to the person treating the nest but does take longer to eliminate the wasps and hornets.
To dust a nest:
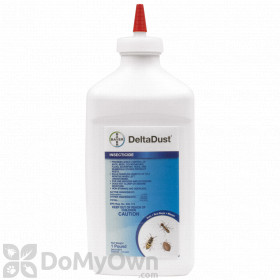
1. Choose an insecticide dust labeled for wasps and hornets and load it into a hand duster according to the instructions on the label of the dust.
2. Apply the dust liberally to the direct entrance hole of the nest, then move away quickly. If no pests emerge, dust again and move away quickly. Repeat until the entire nest has been dusted.
Again, depending on the size of the nest, it can take a few days to a few weeks to eliminate the colony.
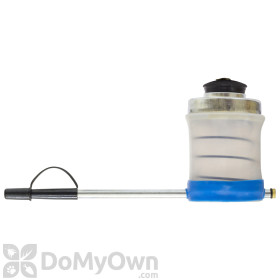
Pro Tip
If the nest is high in a tree, below a second floor deck, or under the eaves of a roof, a Dustick Duster may be a smart purchase. The Dustick reaches up to 21 feet high to allow you to reach tall nests without the use of a ladder.
Products needed for Step 2B

Remove the Nest
Once the nest has been treated, you can remove the nest. The nest can be placed into a double lined trash bag, before being sealed and disposed of. You can also put the nest into a bucket of soapy water first as an extra precaution if you prefer.
Treat Areas If Nest Cannot Be Located
If you are unable to find the nest or if the nest is located beneath ground, you can treat the areas where you have noticed wasps frequenting. This method will not completely eliminate wasp colonies but will reduce the population to manageable levels.
To treat, mix a concentrated liquid insecticide with water in a hand pump sprayer like in Step 2A. Then, apply the solution to areas where you have seen wasps congregating, including:
- Eaves
- Overhangs
- Door and window frames
- Shrubs and bushes
- Around light fixtures
- Around door and window frames
Again, this will not instantly kill wasps and hornets, but will instead provide a residual that will eventually control the wasp and hornet population as they come into contact with the treated areas.
Bait for Yellow Jackets
If you have yellow jackets, you can bait around your home to quickly control the population.
All of the products needed to bait are available in the Yellow Jacket Bait Station Kit with Onslaught.
Products needed for Step 4

Test Baits

Yellow jackets, like people, have different food preferences. Some like sweet foods and others prefer meat. To see which bait your yellow jackets will prefer, put a few different baits (tuna, raw chicken, jam) on a paper plate and leave the plate outside. Check back a few hours later to see what bait has been consumed by the yellow jackets. That is the bait you will use in your stations.
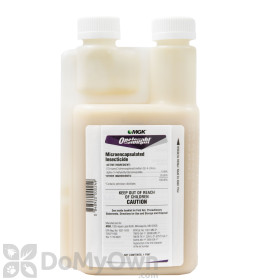
Mix in Insecticide

Next, you will mix 10 oz. of the bait the wasps fed on with Onslaught Insecticide, or any insecticide labeled for yellow jackets in a separate disposable container.
Add 1/4 teaspoon of insecticide to the container--only a small amount is needed for the bait to be effective--and mix well.
Then, while wearing gloves, add 2 teaspoons of the mixture per station. Make sure that the teaspoon and mixing container you use are dedicated for the use of this product only and will not be used for cooking or food consumption. Alternatively, you can use a disposable spoon to measure and mix.
Repeat the process for each station and either dispose of the mixing instrument or reserve just for the use of this product.
Hang Bait Stations and Monitor
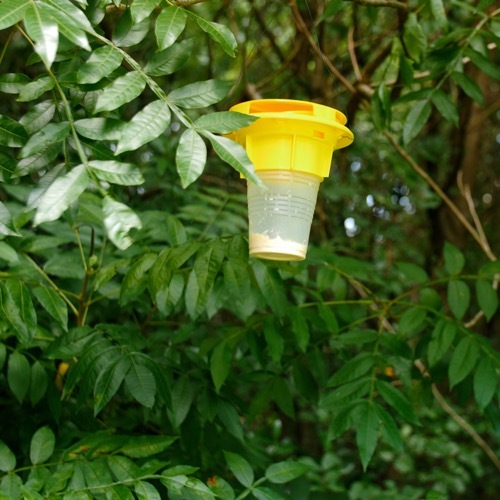
Once you have added bait to your bait stations, hang the stations around the outside of your home. Hang each station 5-6 feet off the ground, spreading stations every 50 feet around the yard. Hang stations where children and pets cannot access them.
Check your stations every few days to see if the bait has been consumed or is going bad. Replace the bait and insecticide mixture as needed until your yellow jacket population is under control.
After you have treated for wasps, yellow jackets, and hornets, you can take steps to prevent them from returning. Read our guide on how to prevent a wasp or hornet infestation to learn how. Click the right arrow below to read more.
If you have any additional questions on how to get rid of wasps or the treatment methods mentioned in this guide, give our customer service team a call at 866-581-7378 or email support@domyown.com.