Chapin 3 Gallon Stand N Spray No Bend Sprayer (29003)

Chapin 3 Gallon Stand N Spray No Bend Sprayer (29003)
Price/Ea.
$54.92

Buy 2 or more: $52.08 each

Have a Question? Ask Our Pros!

Email Our Pros
We're here to help
Live Chat
Offline. Leave Us a Message

You May Also Need

Average Rating

There are no reviews for this product yet. Be the first.

Product Overview

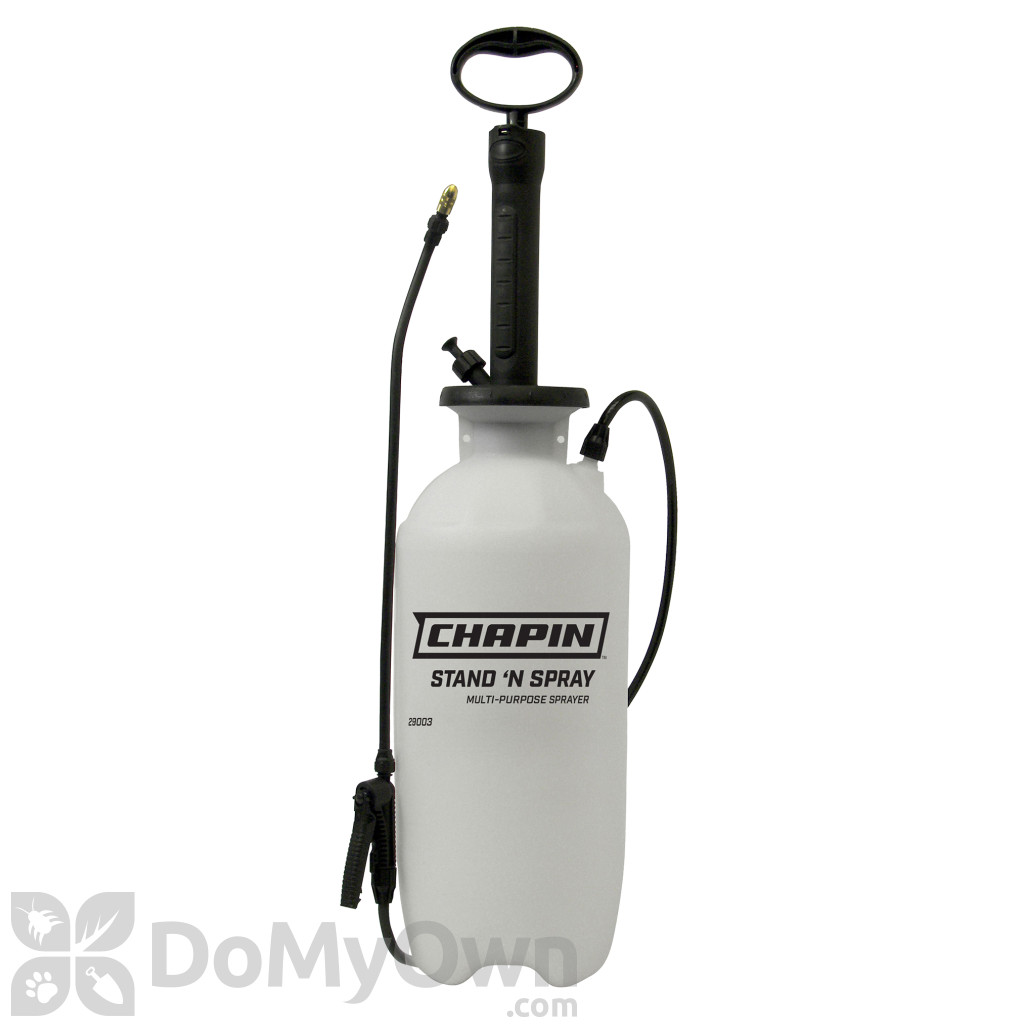
The Chapin 3 Gallon Stand N Spray No Bend Sprayer (29003) is a great sprayer, with a extended pump to make pumping easy and all of the features that Chapin puts into their sprayers. The extended pump comes up 3 feet, allowing you to pump the sprayer without bending down. The features that come standard with any of Chapin's sprayers are: Nitrile seals that hold the sprayer together, a SureSpray Anti-clog Filter keeping contaminates out of the sprayer, a translucent polyethylene tank that is not damaged by the majority of herbicides, insecticides and fertilizers and will last for a long time, ergonomic handle for easy pumping for an extended period of time, a pressure relief valve to remove any compressed air from the sprayer before filling the sprayer and a splash guard to protect you from any unwanted release of chemicals. This sprayer comes with an adjustable brass nozzle.

Features and Specs

For use in Home & Garden, Turf/Landscape settings
Application Place your liquid: from Fertilizers, Fungicides, Herbicides to water; pump the sprayer and spray on the desired surface.
Tank Size (gal.) 3 gal
Material / Construction Polyethylene
Seal Type Nitrile seals
Shipping Weight 4.67 lbs
Manufacturer Chapin (Mfg. Number: 29003)
UPC 023883290030

Details

DIRECTIONS FOR USE

1. Hose to Tank

  • Discharge/ Tool Holder Assembly
  • Insure the tool holder is assembled to the tank adapter before mounting the discharge assembly. The Tool Holder snaps into the groove of the tank adapter.
  • Insert the outlet tube portion of the discharge assembly into the tank adapter.
  • Firmly insert the outlet tube portion into the tank adapter leaving no gap between the tank adapter and outlet tube adapter. Firmly tighten the retaining nut to the tank adapter.

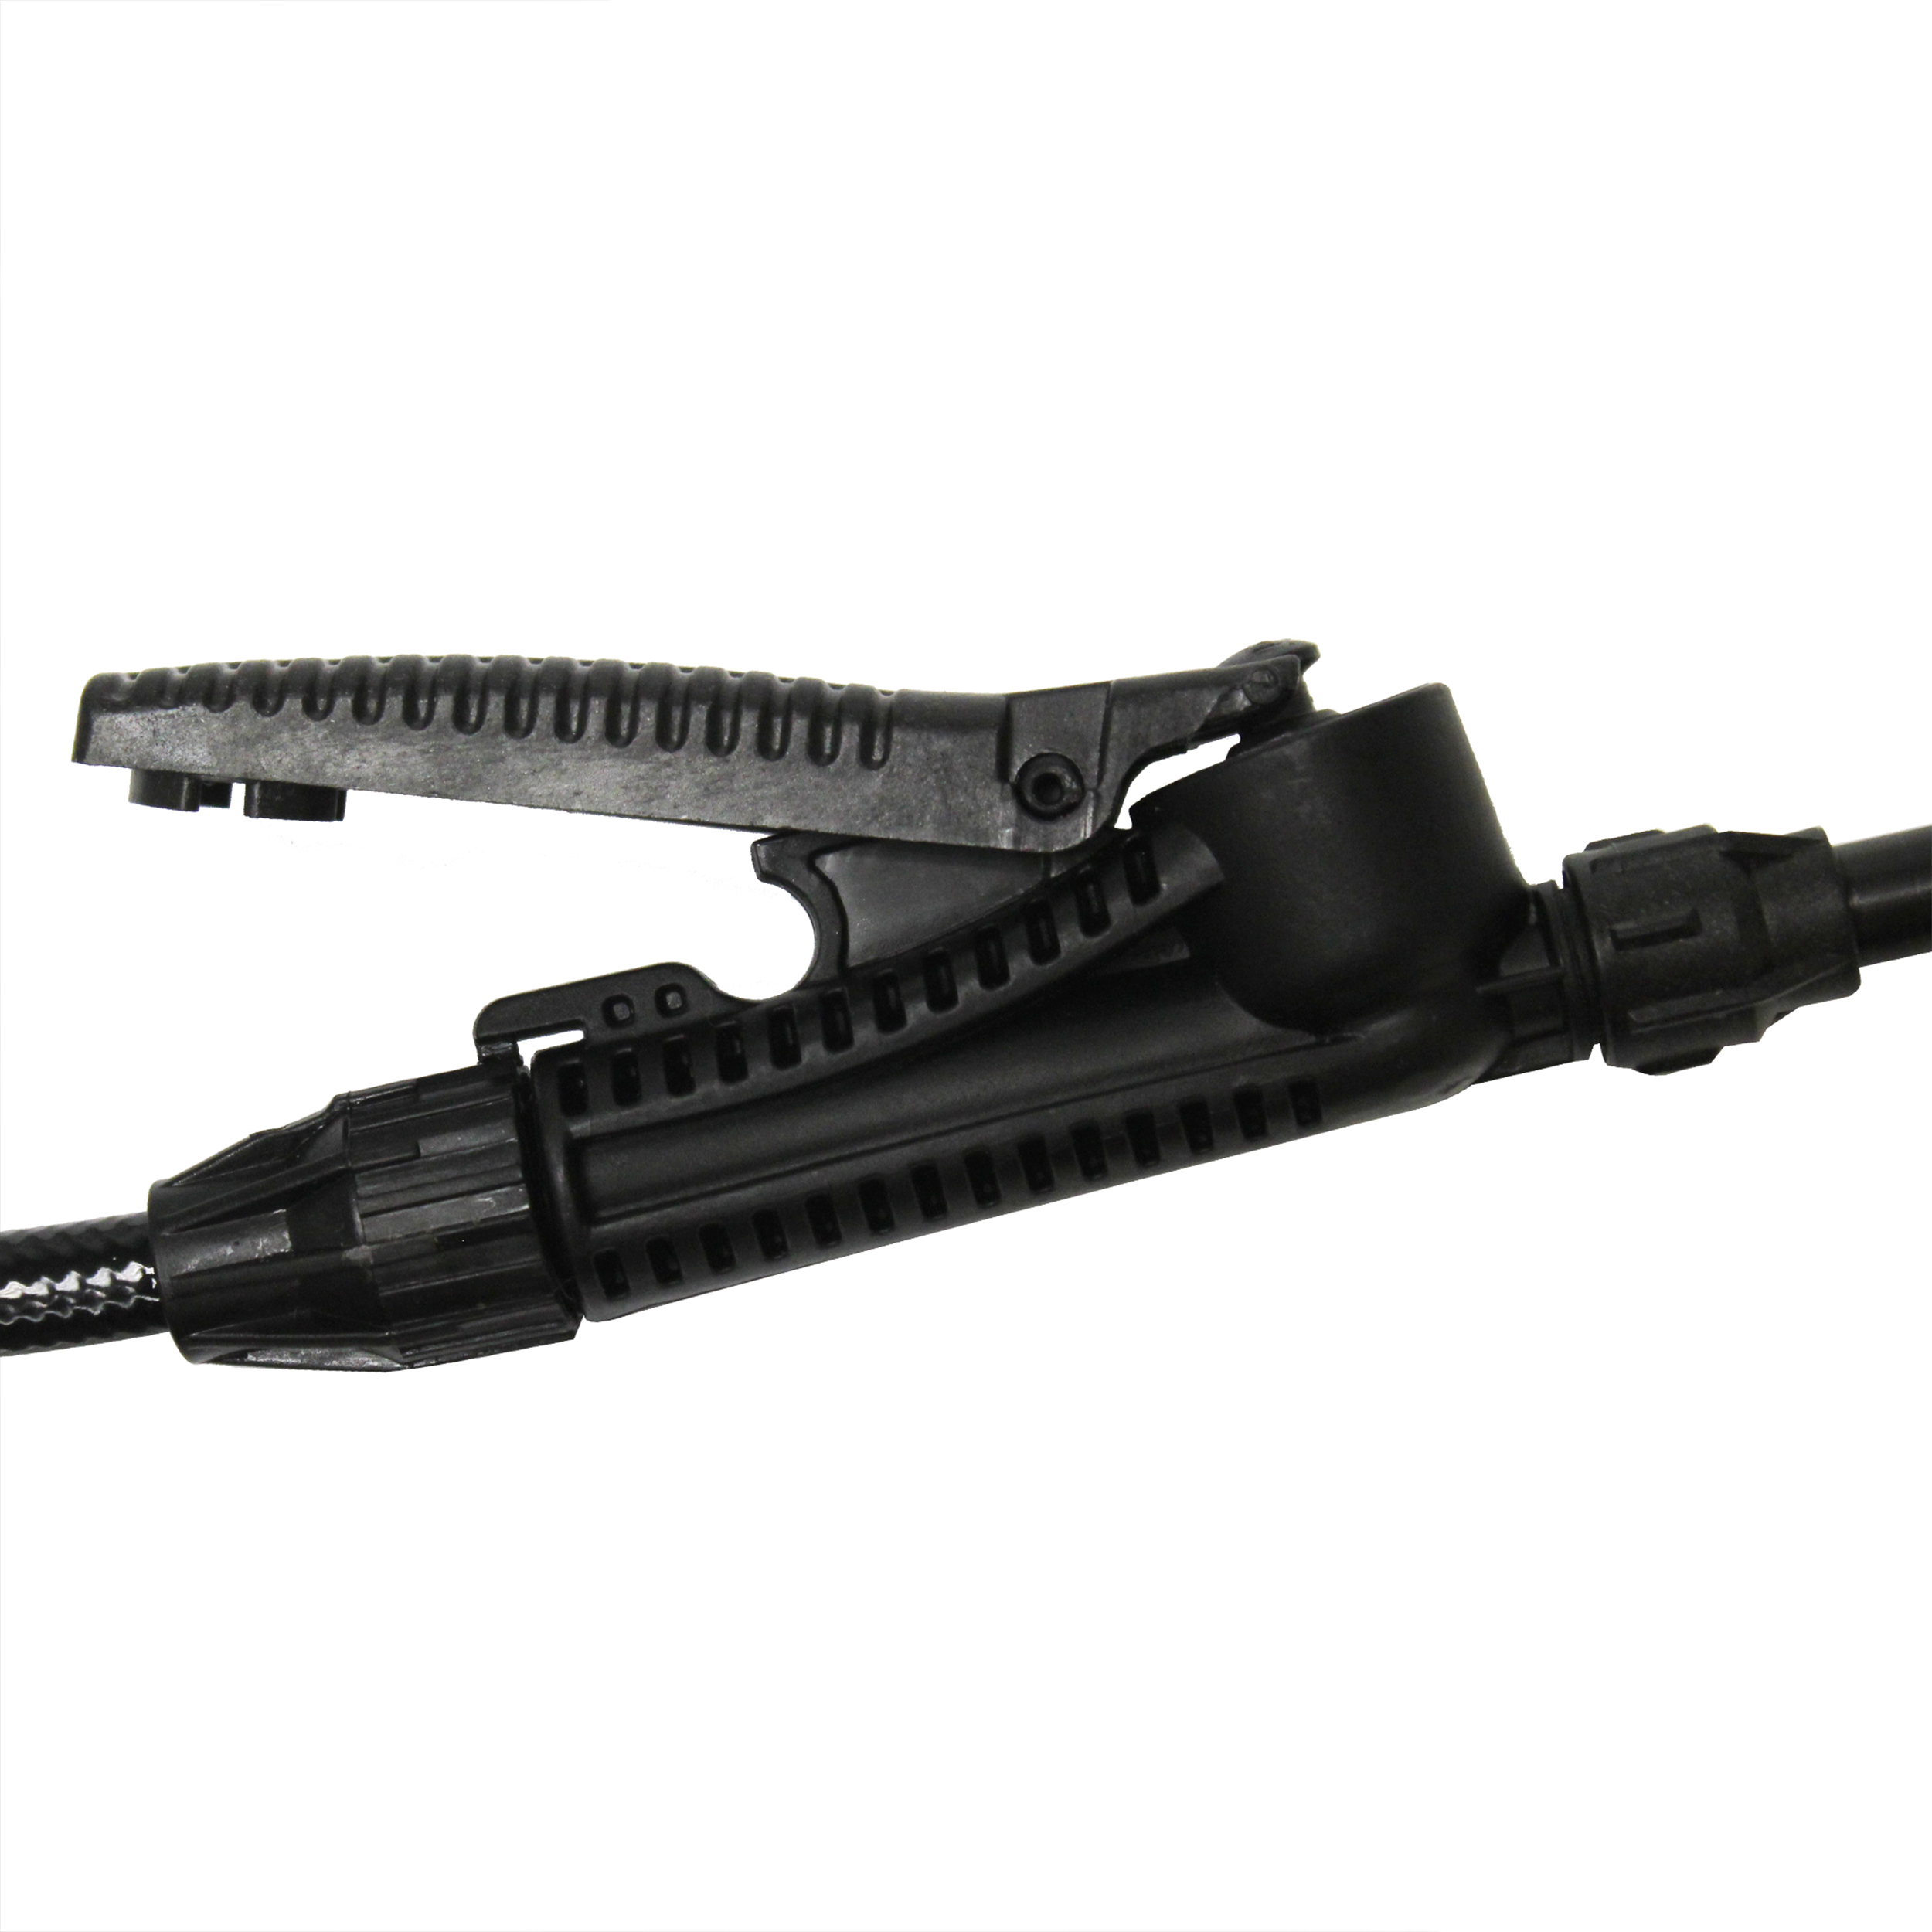
2. Nozzle / Extension Wand

Attach nozzle to shut-off handle or extension wand, depending on the style of extension wand included with sprayer. (Refer to images on the manual attached)

3. Filter

The filter helps prevent clogging while spraying. It is located on the end of the outlet tube inside your sprayer tank. To clean filter, remove the discharge assembly from the tank. Make sure the filter is positioned at the bottom of the tank as pictured.

Note: Filters are not supplied with deck sprayers.

4. Shield Attachment to Wand

Snap shield onto wand as shown. Using the spray shield will help protect your plants etc. from over spray. (Not all models are provided with spray shield).

5. Pre-Use Check

  1. Check tightness of hose nut to be sure hose is securely attached to the tank outlet.
  2. Inspect hose for deterioration, cracks, softness, or brittleness. If any of these conditions are found, replace hose  before using. Replace with original manufacturer’s parts only.
  3. Remove pump (see Filling, Pressurizing and Spraying Instructions), inspect interior and exterior of tank for signs of deterioration of body and bottom. Any sign of deterioration indicates possible tank weakening and could result in explosive bursting under pressure. If any of these signs are found, discard tank immediately and replace. Do not attempt to patch leaks, etc., as this could result in serious injury.
  4. Follow Filling, Pressurizing and Spraying Instructions, except use water only (Pump plunger 10-20 strokes and inspect for leaks).
  5. Direct shut-off away from you and open to make sure discharge is not clogged.
  6. If unit passes this test, release pressure (see Pressure Releasing Instructions), empty tank, and proceed with Filling, Pressurizing and Spraying Instructions.
  7. Inspect all metal parts including the wand, nozzle and fittings for rust, corrosion and pitting. If any of these conditions are found, replace affected part with original manufacturer’s part before using.

6. Filling

  1. Turn pump handle counterclockwise and remove pump.
  2. Prepare spray solution following all directions and safety warnings on chemical label.
  3. Fill tank to no more than the proper gallon marker. Do NOT: overfill to accommodate pump.
  4. Check pump to make sure that no grass or dirt is stuck to barrel. Replace pump in tank and tighten securely.

7. Pressurizing and Spraying

  1. Turn handle clockwise to tighten. Push handle down, turn 1/4 turn counterclockwise to release.
  2. Pump until you feel resistance.
  3. Push handle, down, turn 1/4 turn clockwise to lock. Begin spraying. Re-pump sprayer as required to maintain spray force.
  4. Turn end of nozzle to adjust spray pattern.

8. To Release Pressure

Pull up stem until air is completely exhausted. Point valve away from you when releasing pressure.

9. Care, Storage and Maintenance

  1. Rinse tank thoroughly with water only, empty, refill with water. Follow Filling, Pressurizing and Spraying Instructions, except pump unit only 8-10 strokes. Be sure that the wand and nozzle are thoroughly rinsed with water after each use.
  2. Open shut-off and allow water to run through discharge assembly.
  3. Release pressure (Follow Pressure Release Instructions), remove pump and empty sprayer.
  4. Store sprayer tank upside down, with pump removed, in a warm dry location.
  5. Periodically oil pump by dropping 10-12 drops of light oil down pump rod through opening in cover.

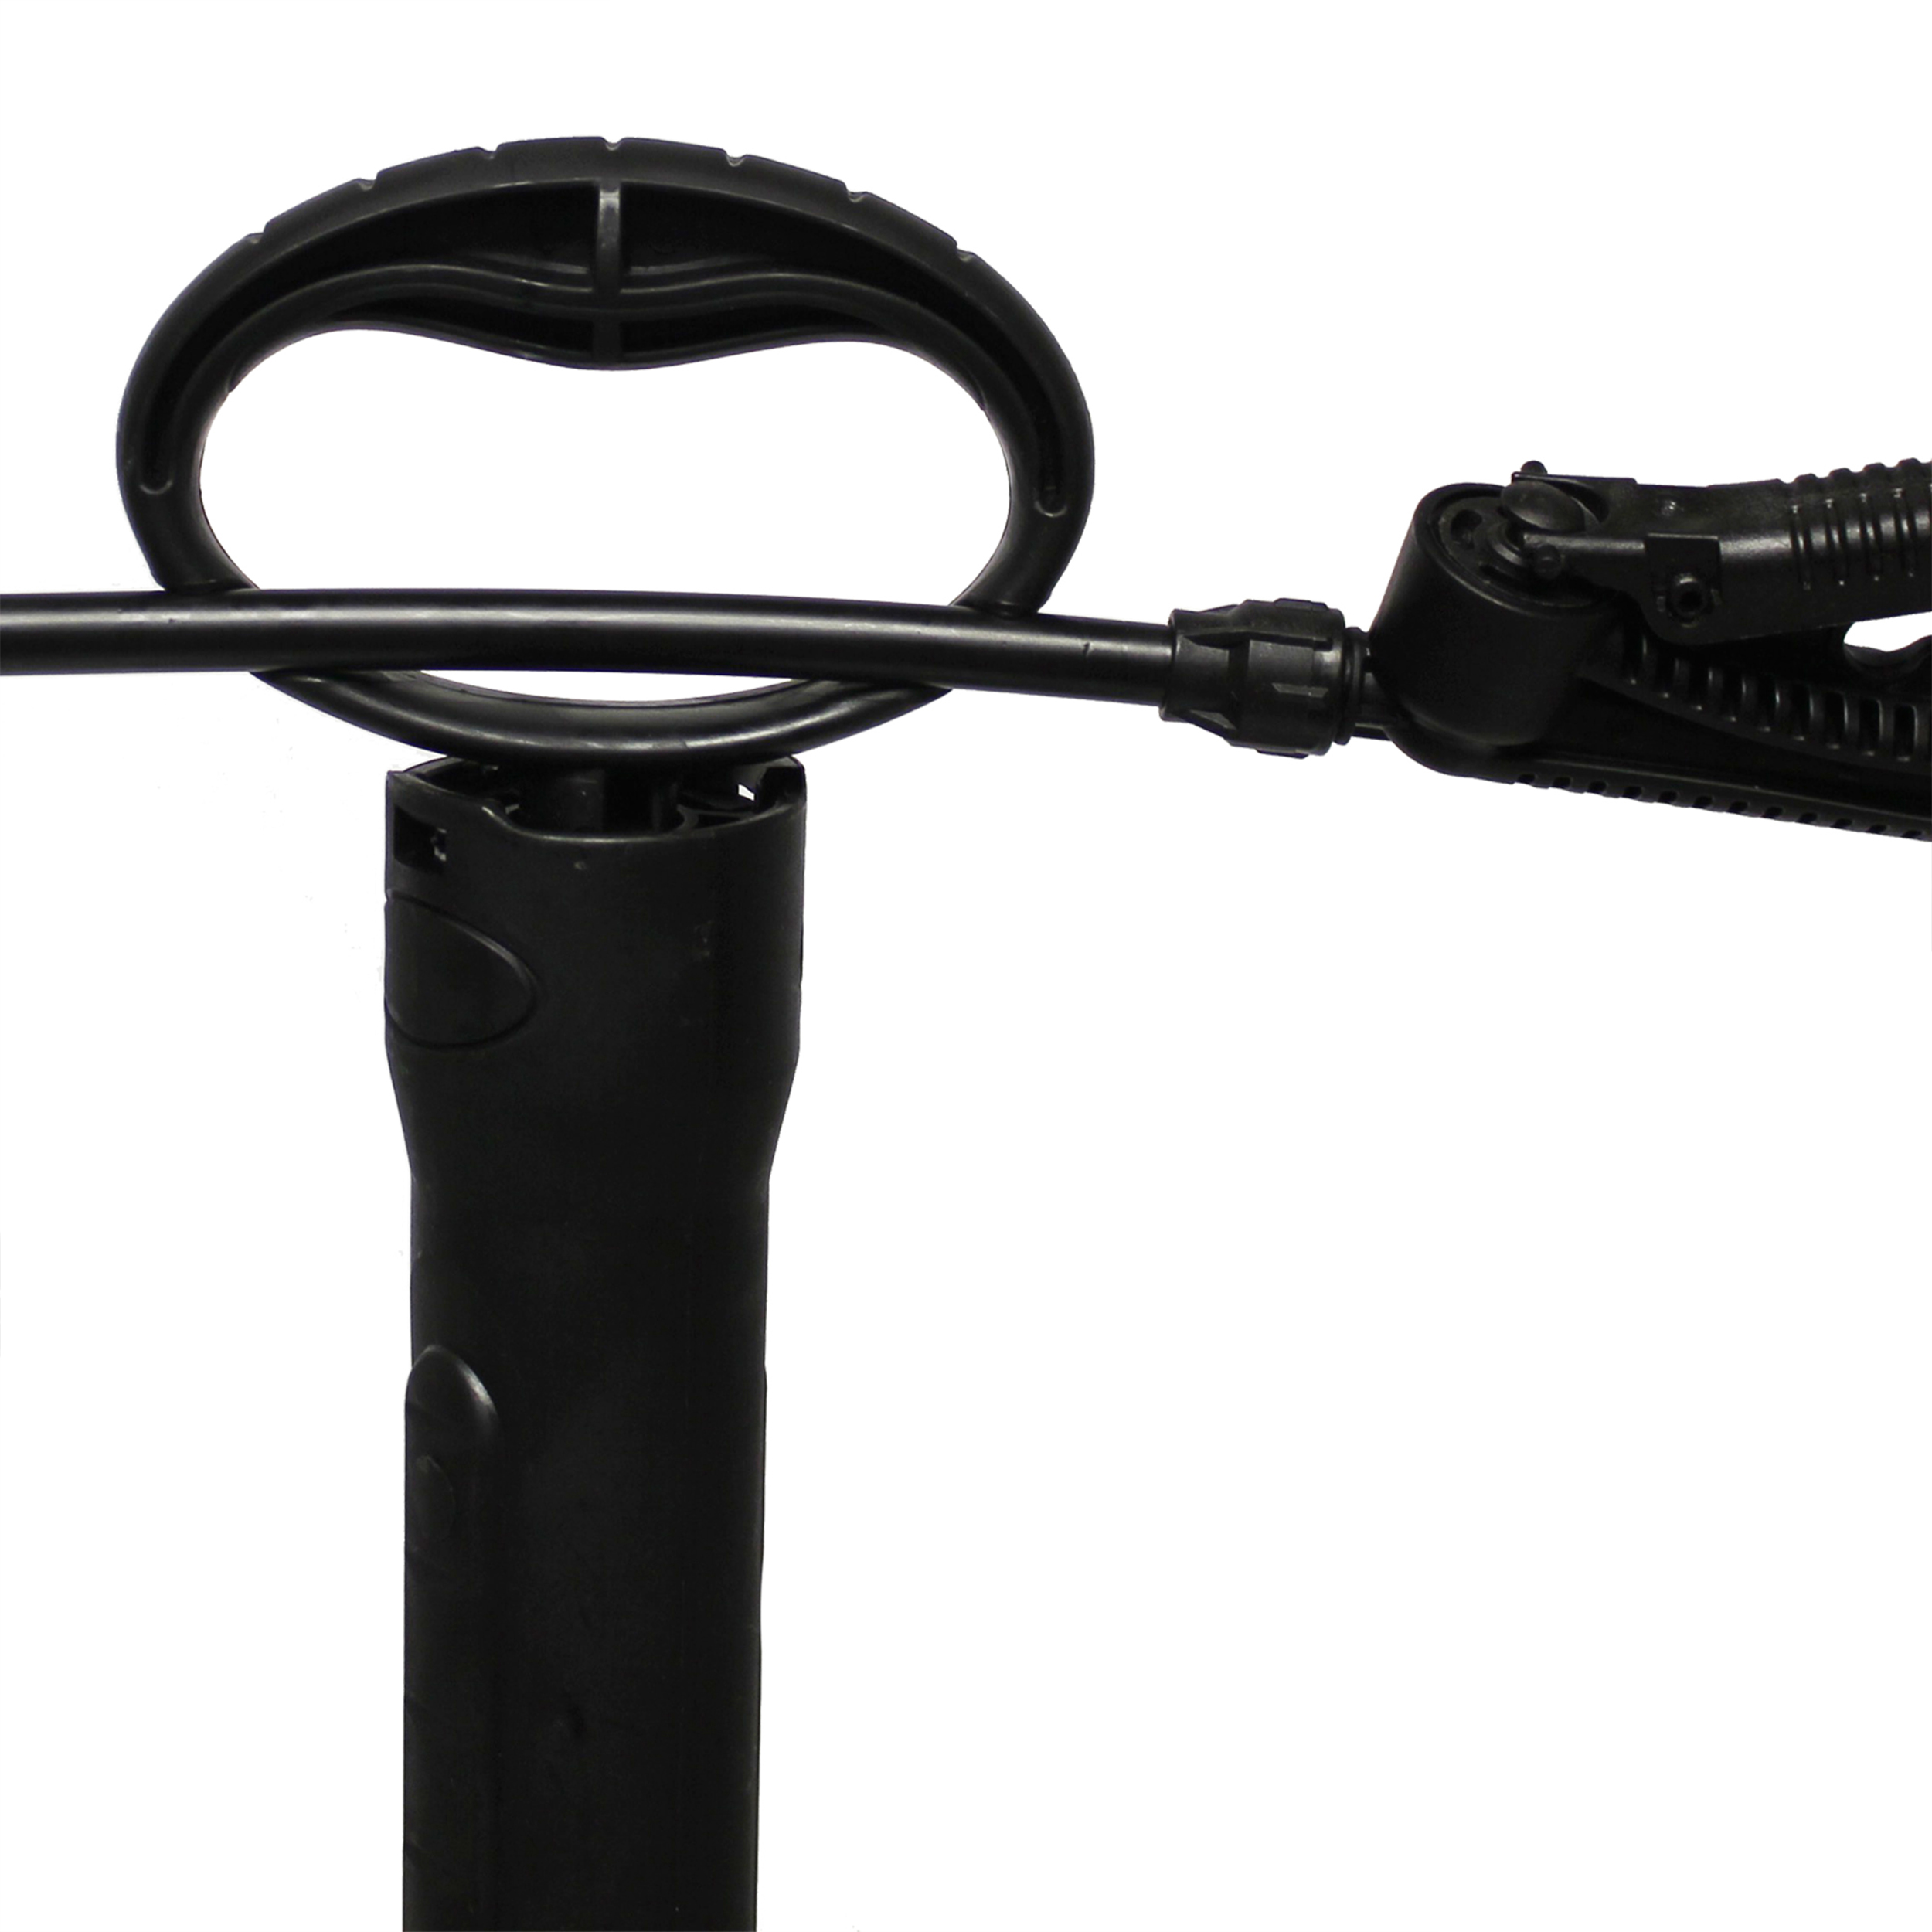
10. Fatigue-Free Spraying

For constant spraying, push down on shut-off handle and move grey locking mechanism away from you. To release, squeeze handle and move the grey locking mechanism back towards you. (Not all models are provided with this feature).

11. Troubleshooting

Tank pressurizes but does not spray.

WARNING: Release pressure in tank before troubleshooting.

  1. Pull handle straight up.
  2. Insert notches from underside of handle into plunger grooves and turn counter-clockwise.
  3. Remove plunger and diaphragm. Clean plunger, diaphragm and body. Flip diaphragm and replace.
  4. Tighten plunger clockwise until flush to top of shut-off body. Do not over-tighten or unit may not spray. Slide forks under plunger, push handle down until it snaps into place.

Clean Nozzle Assembly

Remove nozzle cap. Clean and re-assemble.

There are no reviews for this product yet. Be the first.

Questions & Answers

Have a question about this product?

There are no questions for this product yet. Ask the first.