Buy 2 or more: $53.62 each
Have a Question? Ask Our Pros!
Average Rating
There are no reviews for this product yet. Be the first.
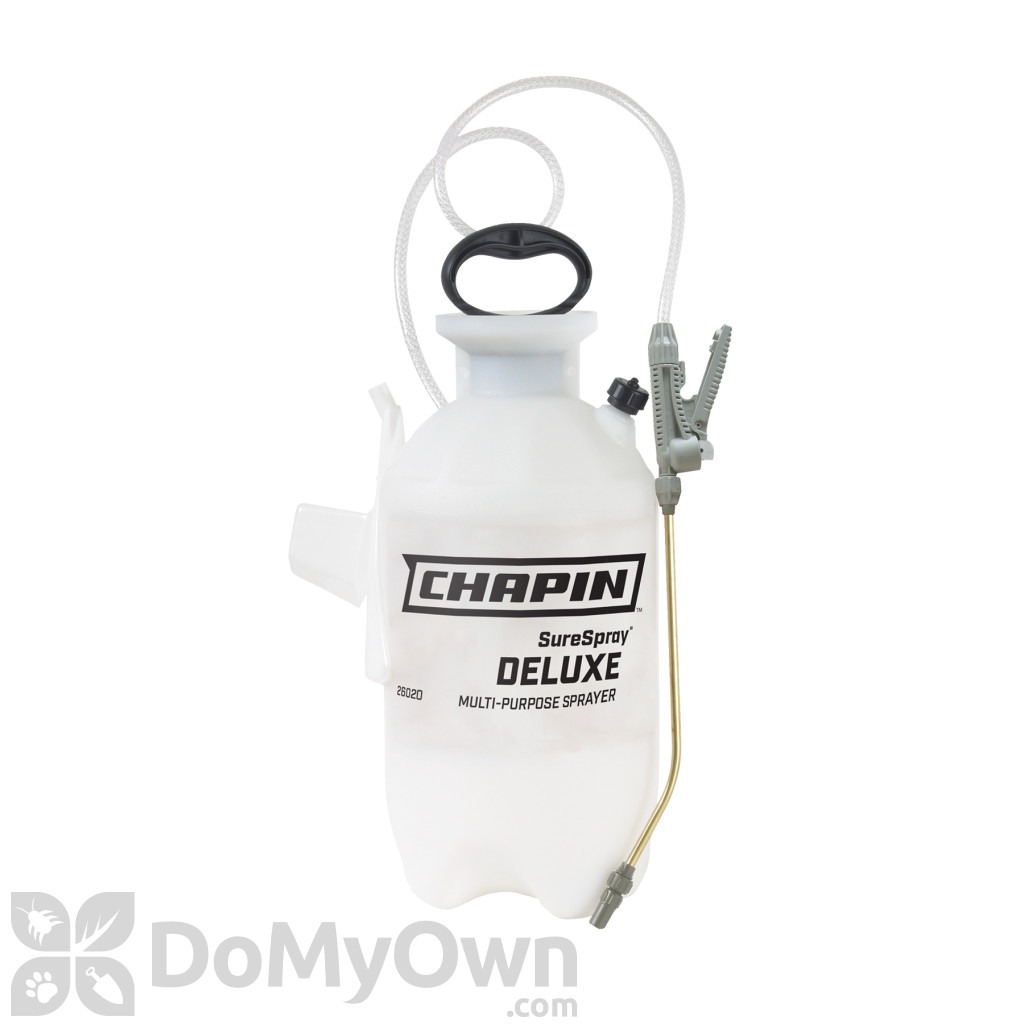
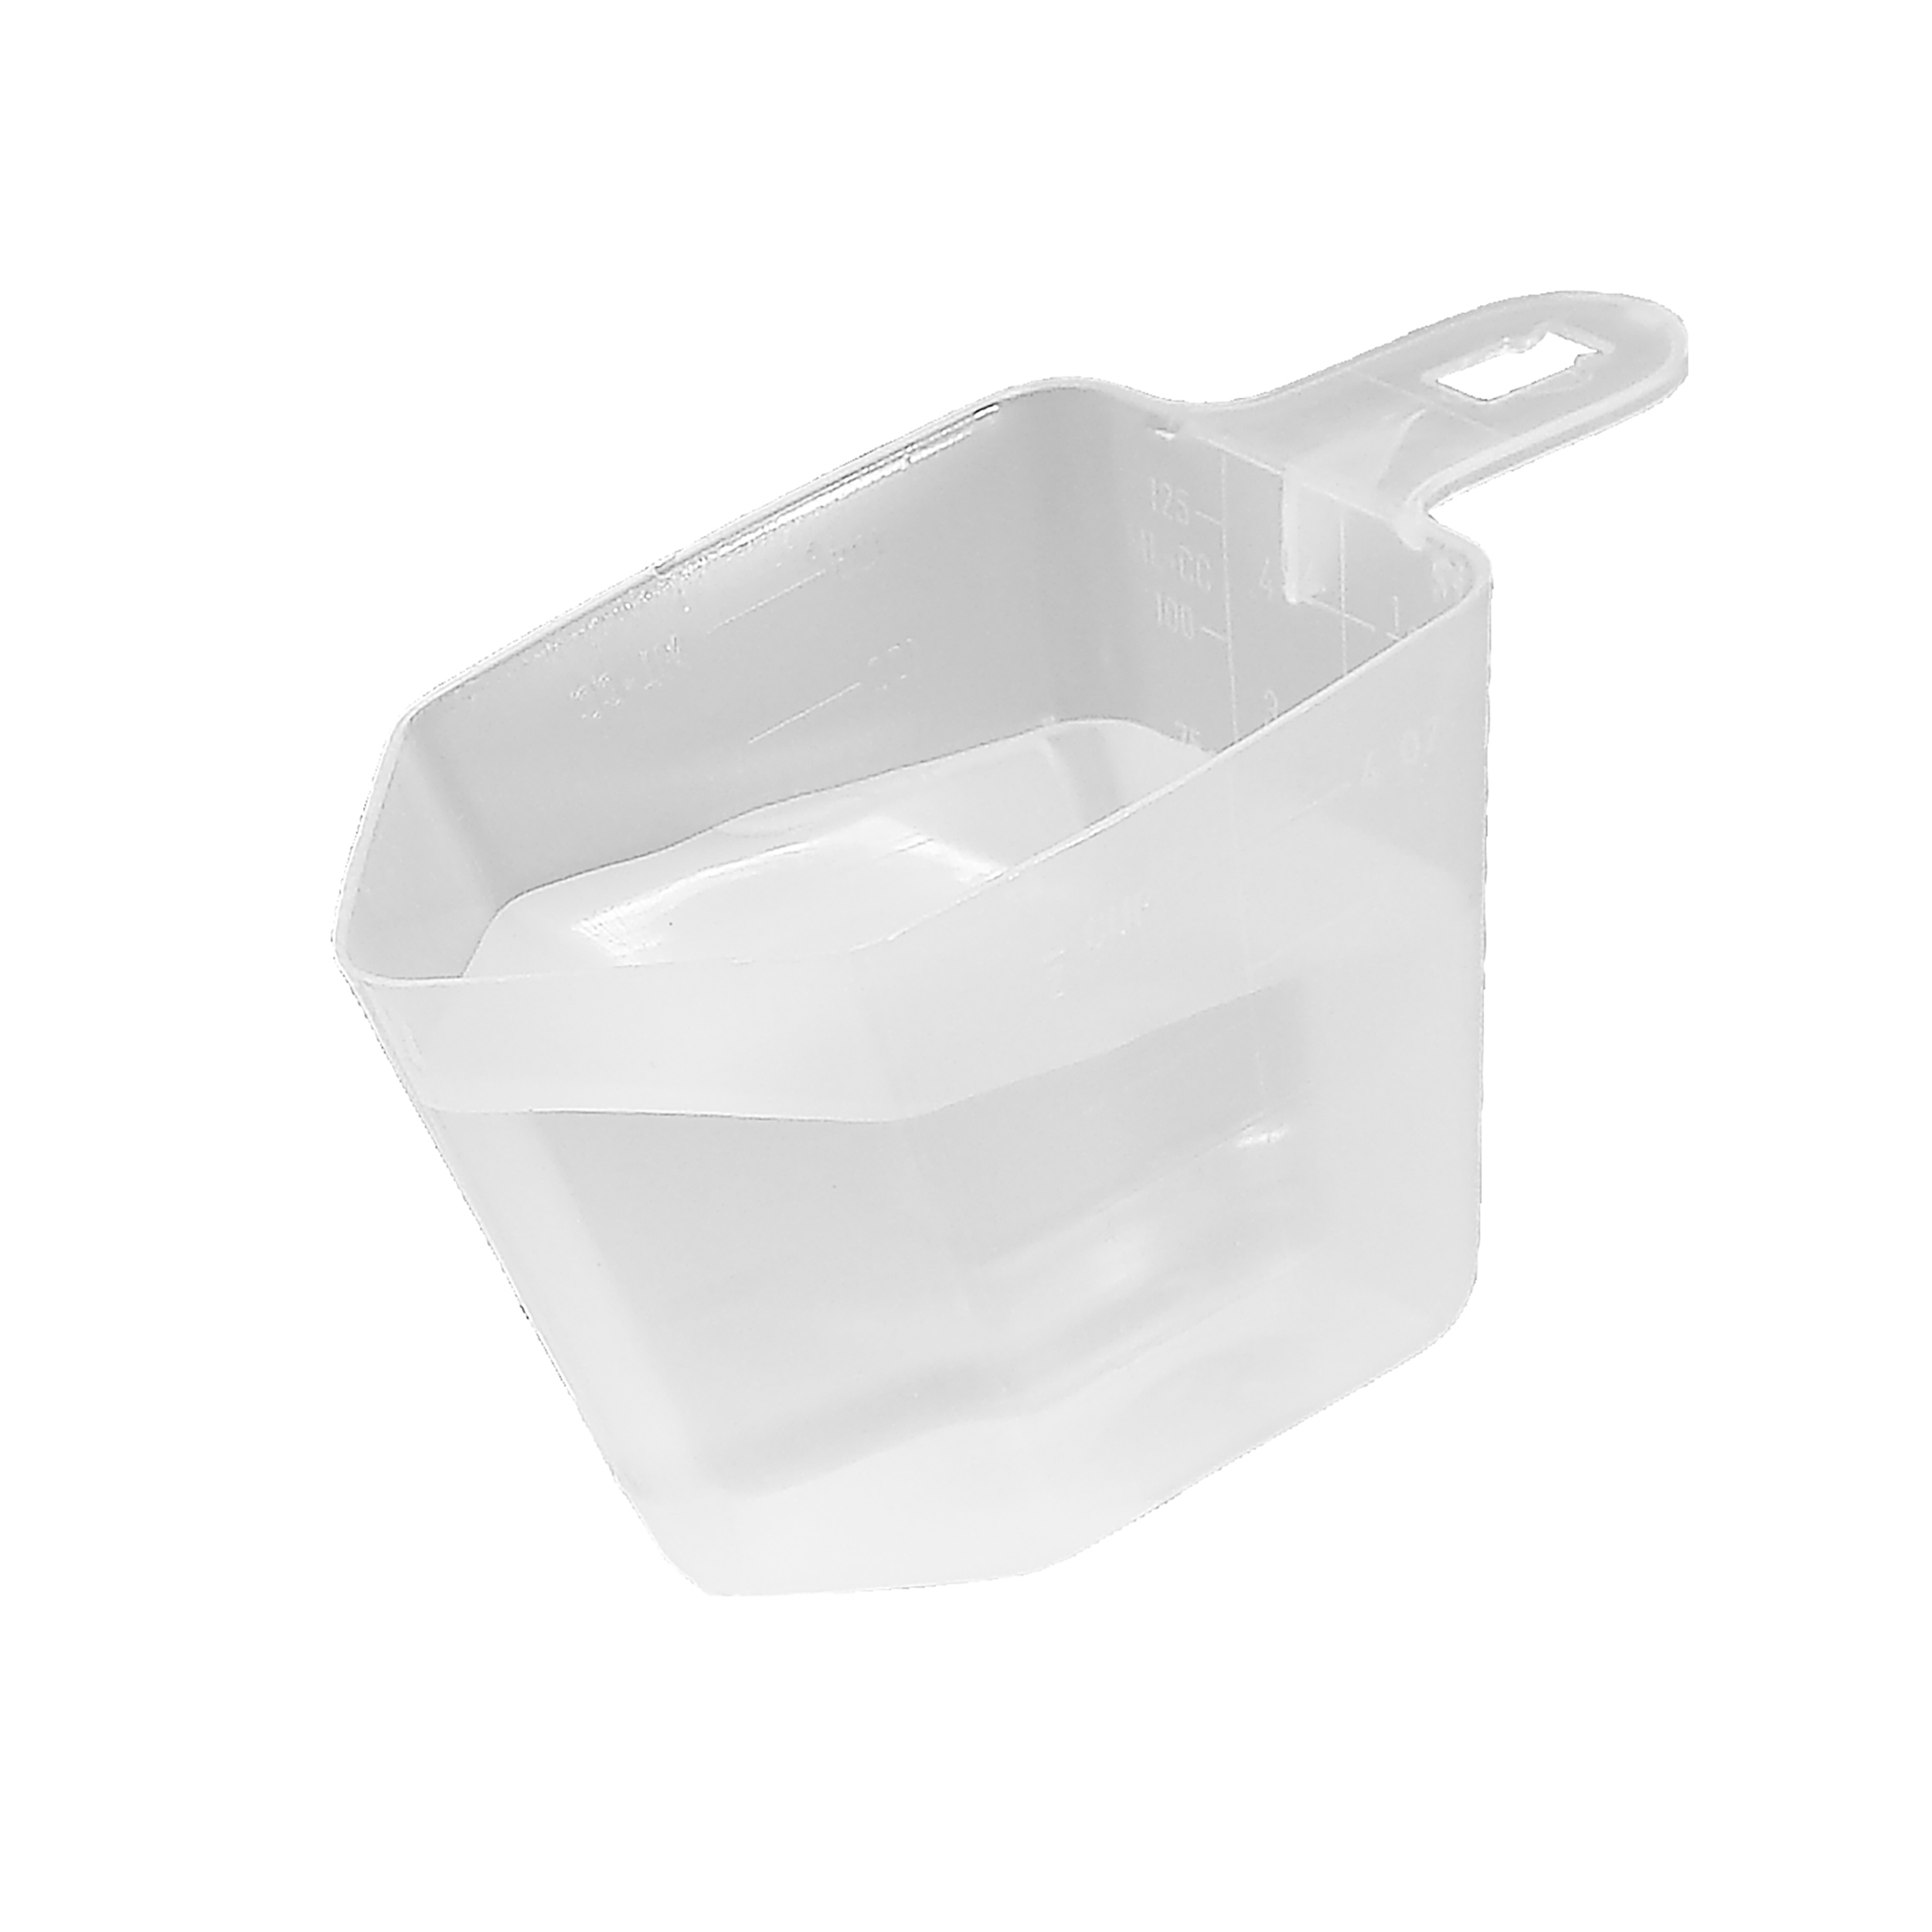
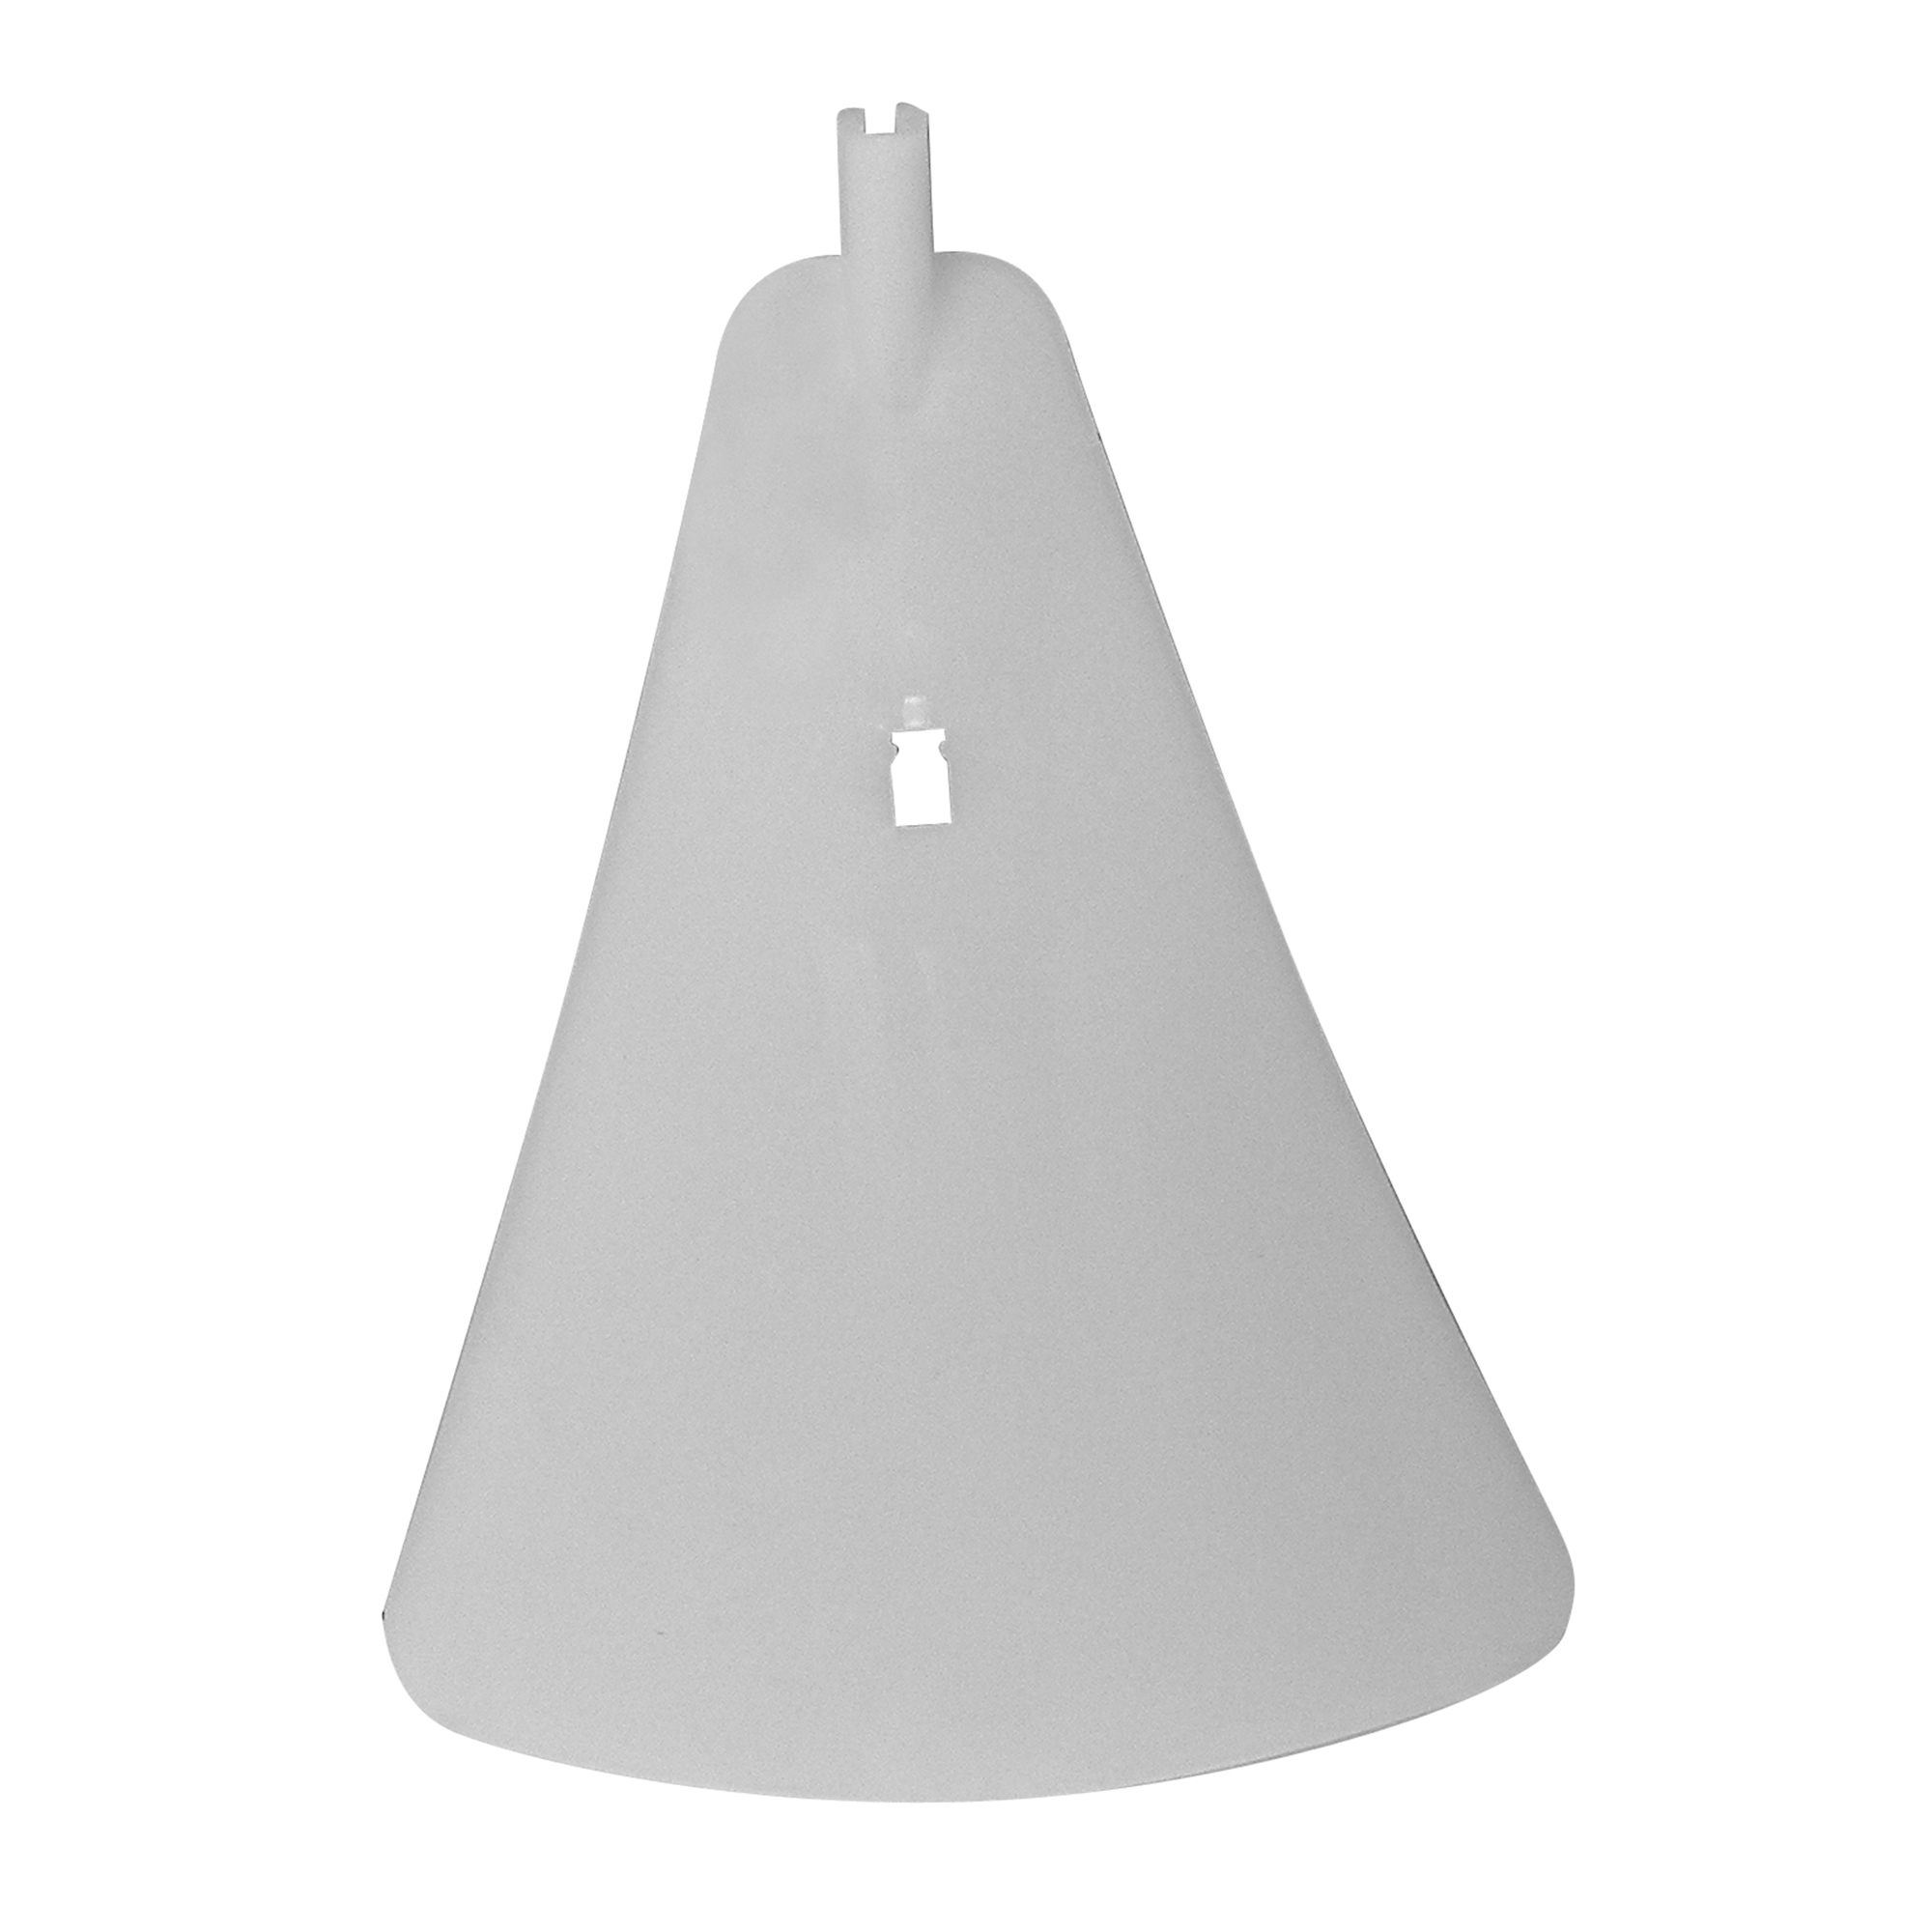
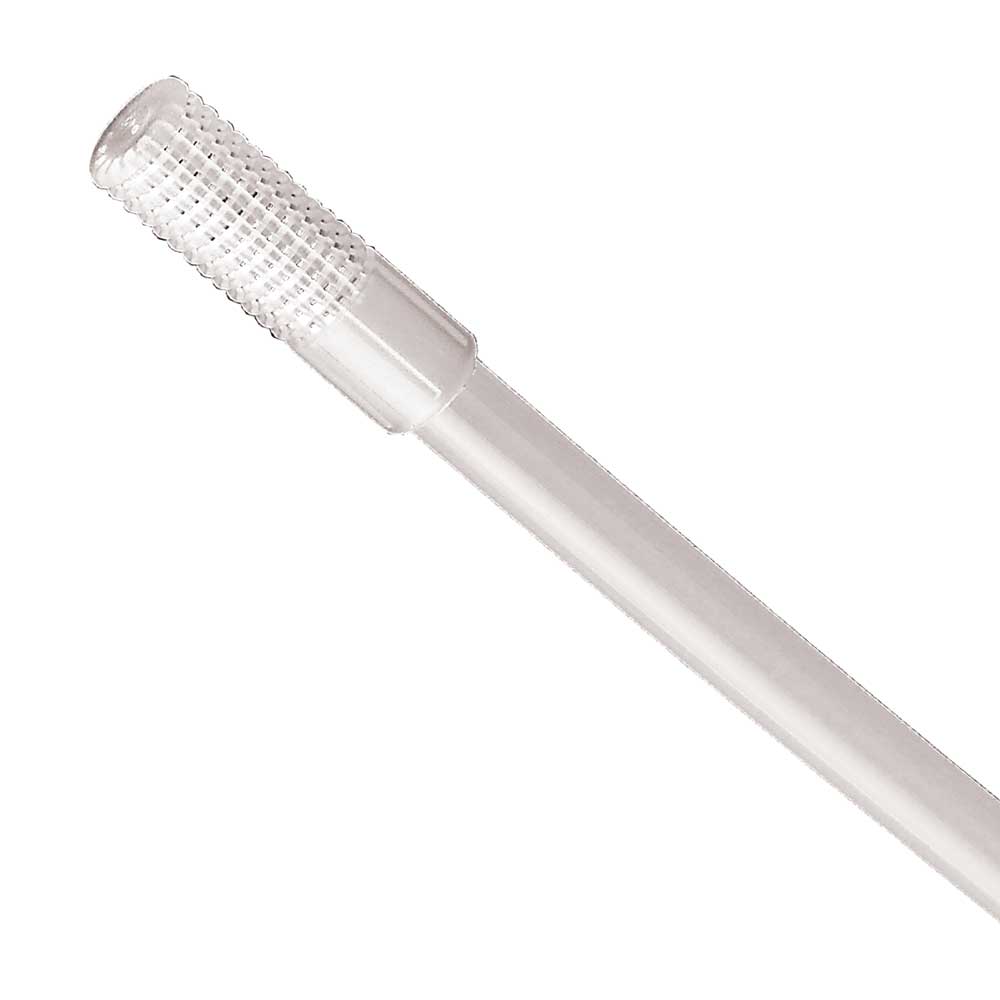
Chapin SureSpray Deluxe 2 Gallon Sprayer (#26020) is an excellent product that comes with all the great features that you want in a sprayer. These include: a 14 inch brass/poly extension wand, a lock-on feature for easy applications, a SureSpray filter to keep contaminates out of your sprayer, an easy-to-measure cup for adding concentrates in the correct amounts to the sprayer, nitrile seals that hold the sprayer together, a hose that is reinforced to last longer, an adjustable nozzle for flexibility, a pressure release valve for safety, an ergonomic handle, a spray shield to prevent over-spraying plants and a polyethylene tank that won't breakdown from contact with most pest control chemicals.
Product Documents
| Shipping Weight | 3.07 lbs |
|---|---|
| Manufacturer | Chapin (Mfg. Number: 26020) |
| UPC | 023883260200 |
DIRECTIONS FOR USE
1. Hose to Tank
Discharge/ Tool Holder Assembly
• Insure the tool holder is assembled to the tank adapter before mounting the discharge assembly. The Tool Holder snaps into the groove of the tank adapter.
• Insert the outlet tube portion of the discharge assembly into the tank adapter.
• Firmly insert the outlet tube portion into the tank adapter leaving no gap between the tank adapter and outlet tube adapter. Firmly tighten the retaining nut to the tank adapter.
2. Nozzle / Extension Wand
Attach nozzle to shut-off handle or extension wand per Fig. 2A-2D depending on the style of extension wand included with sprayer. (Look at the attached manual)
3. Filter
The filter helps prevent clogging while spraying. It is located on the end of the outlet tube inside your sprayer tank. To clean filter, remove the discharge assembly from the tank. Make sure the filter is positioned at the bottom of the tank
4. Shield Attachment to Wand
Snap shield to wand. Using the spray shield will help protect your plants etc. from over spray.
5. Pre-Use Check
1) Check tightness of hose nut to be sure hose is securely attached to the tank outlet.
2) Inspect hose for deterioration, cracks, softness, or brittleness. If any of these conditions are found, replace hose before using. Replace with original manufacturer’s parts only.
3) Remove pump (see Filling, Pressurizing and Spraying Instructions), inspect interior and exterior of tank for signs of deterioration of body and bottom. Any sign of deterioration indicates possible tank weakening and could result in explosive bursting under pressure. If any of these signs are found, discard tank immediately and replace. Do not attempt to patch leaks, etc., as this could result in serious injury.
4) Follow Filling, Pressurizing and Spraying Instructions, except use water only (Pump plunger 10-20 strokes and inspect for leaks).
5) Direct shut-off away from you and open to make sure discharge is not clogged.
6) If unit passes this test, release pressure (see Pressure Releasing Instructions), empty tank, and proceed with Filling, Pressurizing and Spraying Instructions.
6. Filling
1) Turn pump handle counterclockwise and remove pump
2) Prepare spray solution following all directions and safety warnings on chemical label.
3) Fill tank to no more than the proper gallon marker. Do NOT: overfill to accommodate pump.
4) Check pump to make sure that no grass or dirt is stuck to barrel. Replace pump in tank and tighten securely.
7. Pressurizing and Spraying
1) Turn handle clockwise to tighten. Push handle down, turn 1/4 turn counterclockwise to release.
2) Pump until you feel resistance.
3) Push handle, down, turn 1/4 turn clockwise to lock. Begin spraying. Re-pump sprayer as required to maintain spray force.
4) Turn end of nozzle to adjust spray pattern.
8. To Release Pressure
Sprayers with pressure release/relief valve
1) Lift and hold the cap OR, turn the valve slowly counterclockwise until air is completely exhausted.
2) Pull up stem until air is completely exhausted.
3) Point valve away from you when releasing pressure.
9. Care, Storage and Maintenance
1) Rinse tank thoroughly with water only, empty, refill with water. Follow Filling, Pressurizing and Spraying Instructions, except pump unit only 8-10 strokes.
2) Open shut-off and allow water to run through discharge assembly.
3) Release pressure (Follow Pressure Release Instructions), remove pump and empty sprayer.
4) Store sprayer tank upside down, with pump removed, in a warm dry location.
5) Periodically oil pump by dropping 10-12 drops of light oil down pump rod through opening in cover.
10. Fatigue-Free Spraying
For constant spraying, push down on shut-off handle and move grey locking mechanism away from you. To release, squeeze handle and move the grey locking mechanism back towards you.
11. Troubleshooting - Tank pressurizes but does not spray.
WARNING: Release pressure in tank before troubleshooting.
1) Pull handle straight up.
2) Insert notches from underside of handle into plunger grooves and turn counter-clockwise.
3) Remove plunger and diaphragm. Clean plunger, diaphragm and body. Flip diaphragm and replace.
4) Tighten plunger clockwise until flush to top of shut-off body. Do not over-tighten or unit may not spray. Slide forks under plunger, push handle down until it snaps into place.
Clean Nozzle Assembly - Remove nozzle cap. Clean and re-assemble.
There are no reviews for this product yet. Be the first.
The SureSpray Deluxe 2 Gallon Sprayer is 15 inches from the bottom to the top of the handle.