Safety Products

Please be sure to read the product label of any insecticide you choose to use to get information on the personal protective safety gear you will need. In most situations, it is recommended that you wear long pants, a long sleeved shirt, closed toe shoes with socks, chemical resistant gloves, and goggles. In areas where ventilation is poor, a manufacturer may recommend you wear a mask or a respirator. We have put together two different safety kits that will make selecting the correct safety gear easier for you.

Flood Control Guide

Prevent Moisture and Fungi After Flooding

By DoMyOwn staff
Overview

The Complete Guide to Protecting Structures After Flooding

Learn How to Protect Your Home After a Flood

There is a genuine need to help clean out flooded homes, remove the sheetrock and dry the home.

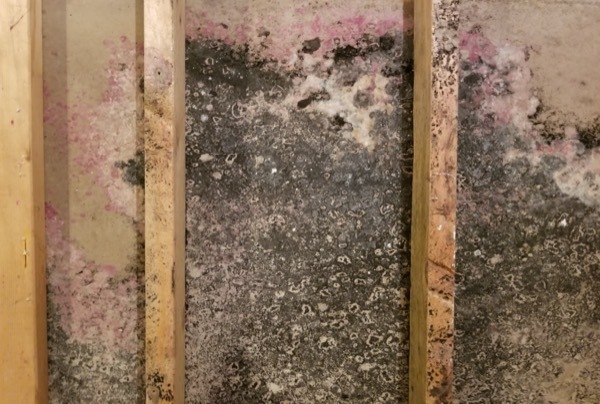
Understand that habitable, flooded homes have been wet and very warm for several weeks. The flood waters likely deposited bacteria in the structures, and the warm, wet conditions resulted in the widespread growth of mold and decay fungi. Once the home is dry you can reinstall a termite barrier and the home is ready for repair.

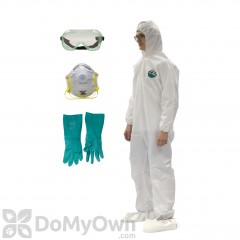
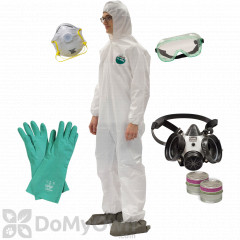
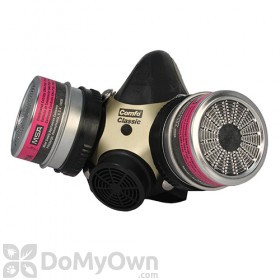
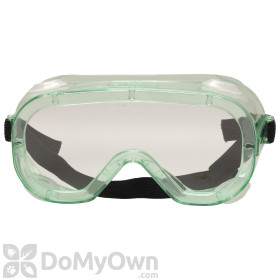
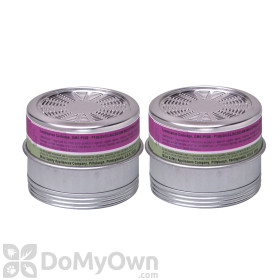
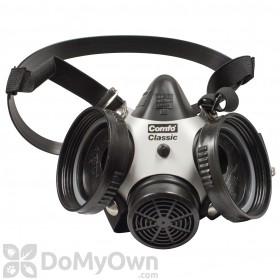
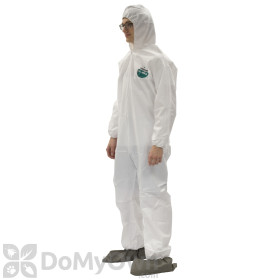
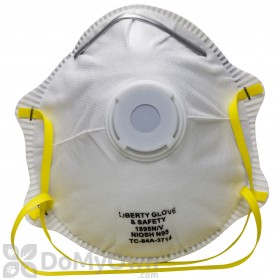
Proper protective equipment including lightweight moisture-resistant coveralls, chemical resistant gloves and boots, respirator and eye protection should be worn during cleaning operations. For safety, make sure that the electricity and gas have been turned off prior to all cleaning activities.
Step 2

Clean Out the Affected Area

Remove all flooring, furniture, appliances, clothes and other items wetted by floodwaters. Try your best to remove all mud and debris as well.
Step 3

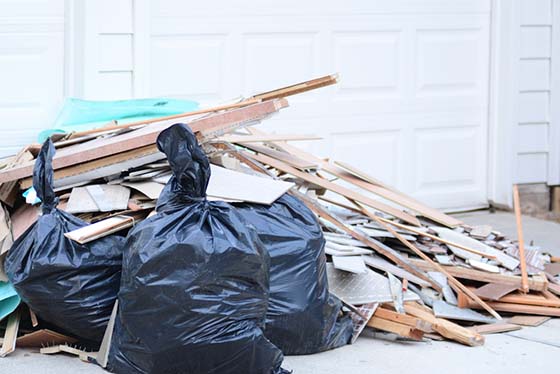
Tear Out Affected Wall Coverings

Remove interior wall coverings and insulation in the wall cavities. Cut out sheetrock 2 feet above the highest water line to allow for proper drying.
Step 4

Clean and Disinfect

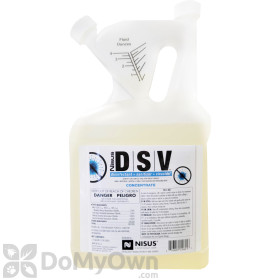
Clean thoroughly and disinfect with an appropriate EPA registered disinfectant, sanitizer and virucide.
Wash the wall cavities and wall framing with an aqueous detergent solution using low to moderate pressure. Several people are using bleach solutions for such operations, but this is not recommended except when small areas are to be cleaned. While bleach is germicidal, its corrosivity can compromise electrical connections and more. In addition, building materials will absorb large amounts of bleach, causing the gradual release of chlorine gas into the living space for an extended period of time.

Nisus DSV is an approved disinfectant, sanitizer and virucide for this step.

Step 5

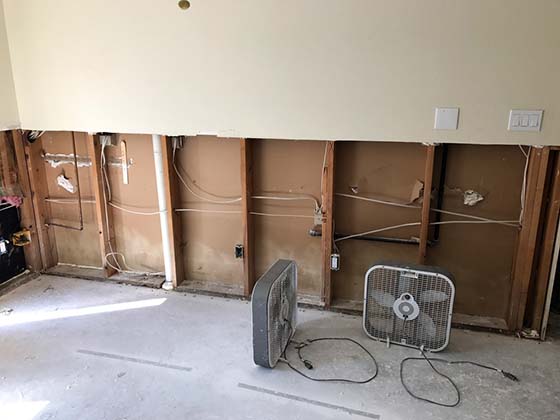
Dry Out the Structure

Open doors & windows to begin circulating fresh air. Place fans throughout the structure to increase the rate of drying and use dehumidifiers if available.

Use a moisture meter to determine when wood is 19% or less moisture content. Failure to make sure the moisture content is at or below this level will result in additional mold growth within the wall cavities. When the framing is dry, the electrical connections and plumbing within the walls should be checked by licensed professionals.

Step 6

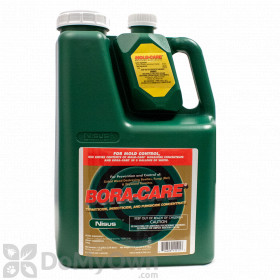
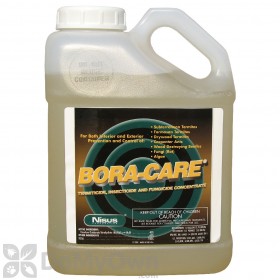
Treat All Wood Framing

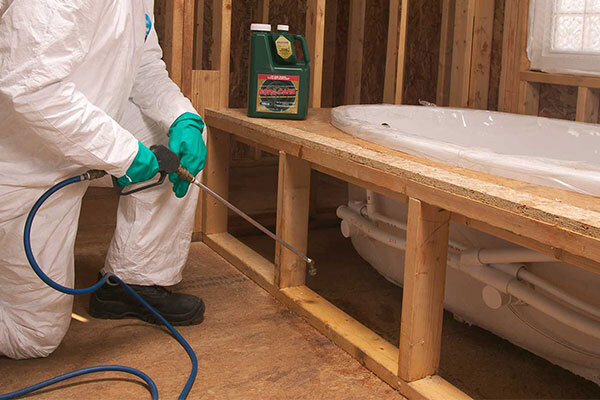
Photo: Nisus Corporation, all rights reserved

Kill existing mold and stop new mold from growing by spray-treating the framing and wall cavities with a non-volatile antimicrobial that is registered by the EPA for that use. We recommend using Bora-Care with Mold-Care in a 5:1 solution. This product contains both borate and a mold control agent.

Flooding can remove existing termite control products from wood and create an environment that can attract termites to wood. Apply termite protection to wood studs with a 2-foot wide band treatment using Bora-Care in a 1:1 solution. Once dry, the home is ready for repair.

22 of 26 people found this article informative and helpful.

Was this article informative and helpful to you?   Yes |  No